 ( 1 ) 9-Jan-2012
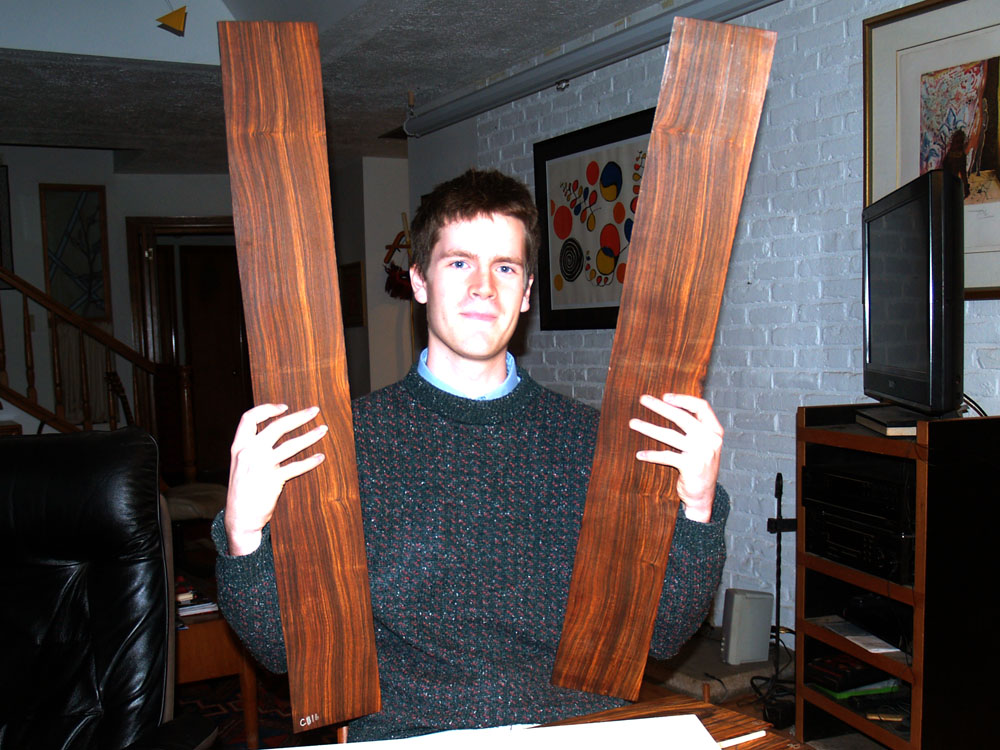
Here is Patrick with the wood set he has chosen for his guitar; Cocobolo back and sides and Adirondack Spruce top.
( 1 ) 9-Jan-2012
Here is Patrick with the wood set he has chosen for his guitar; Cocobolo back and sides and Adirondack Spruce top.
 ( 2 ) 9-Jan-2012
And here are the Cocobolo side pieces.
 ( 3 ) 9-Jan-2012
The body on this guitar is quite deep, so we have decided to incorporate a wedge shaped body to improve its ergonomics. To get a feel for the design I am mocking up the body before I start to work on the wood. Here I am outlining the shape of the body on a piece of foam board.
 ( 4 ) 9-Jan-2012
I made a set of vertical posts to model the sides.
 ( 5 ) 9-Jan-2012
We decided that a wedge with a 5 inch treble side to a 4 inch bass side would work well.
 ( 6 ) 9-Jan-2012
Now I can start working on the wood. Here I am sanding the top set in my drum sander to make the two pieces equally thick. I won't dimension the top until the rosette is set.
 ( 7 ) 9-Jan-2012
I am going to join the two book matched pieces of the top, and I want the joint to be invisible. To get a good straight edge on both pieces I start out by sanding the joining edges on the belt sander.
 ( 8 ) 9-Jan-2012
I use this sanding jig to perfect the joining edges.
 ( 9 ) 9-Jan-2012
A thin bead of luthier's glue is all that is needed to make a strong and invisible joint.
 ( 10 ) 9-Jan-2012
And then the top set goes into this jointing tool. The wedges press the two pieces together while the slats keep the top pieces from buckling under pressure.
 ( 11 ) 9-Jan-2012
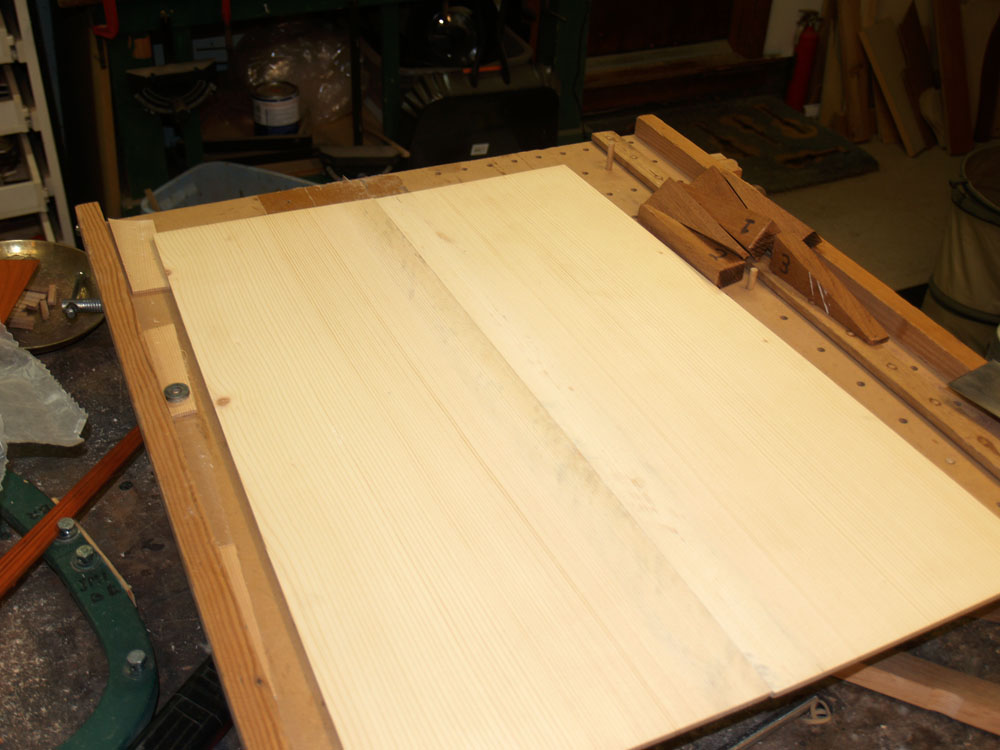
After the glue sets up the two pieces make the top blank.
 ( 12 ) 9-Jan-2012
I use this template to outline the shape of the body on the top blank. I oversize the outline by about a 1/4 inch to allow for tolerances.
 ( 13 ) 9-Jan-2012
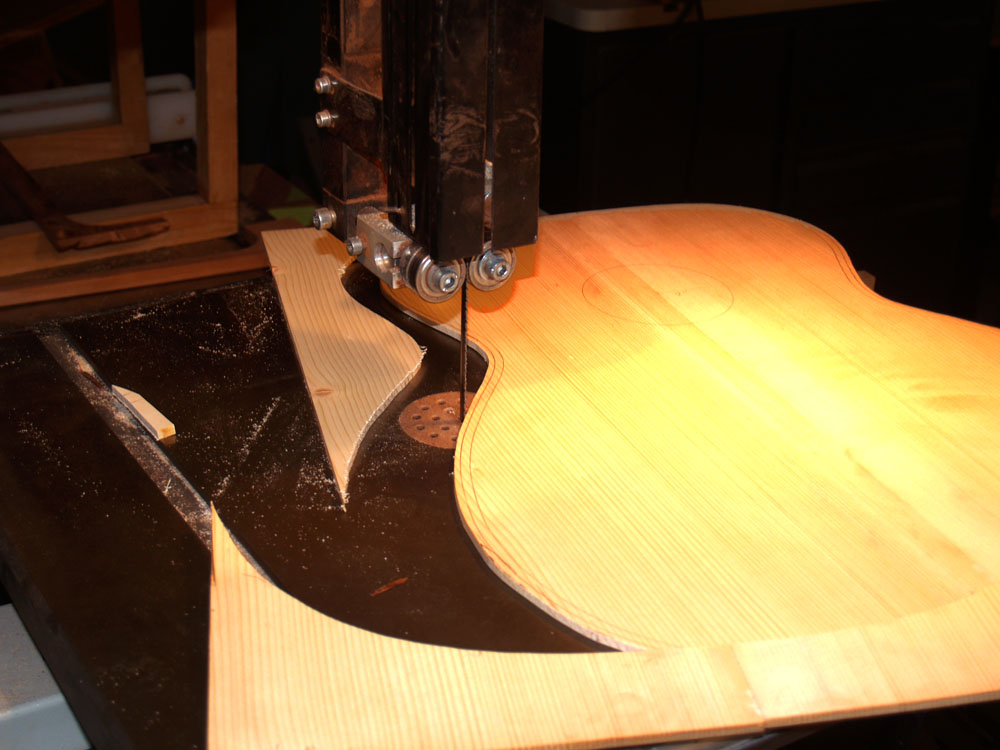
And the band saw is used to cut the top out of the blank.
 ( 14 ) 9-Jan-2012
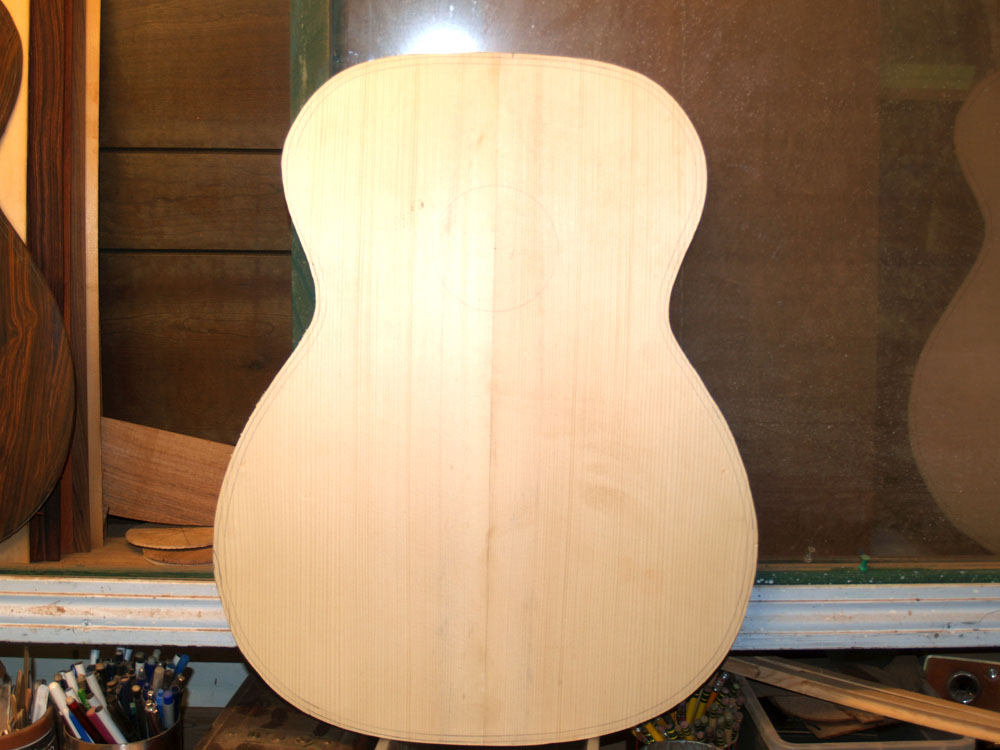
The top plate.
 ( 15 ) 9-Jan-2012
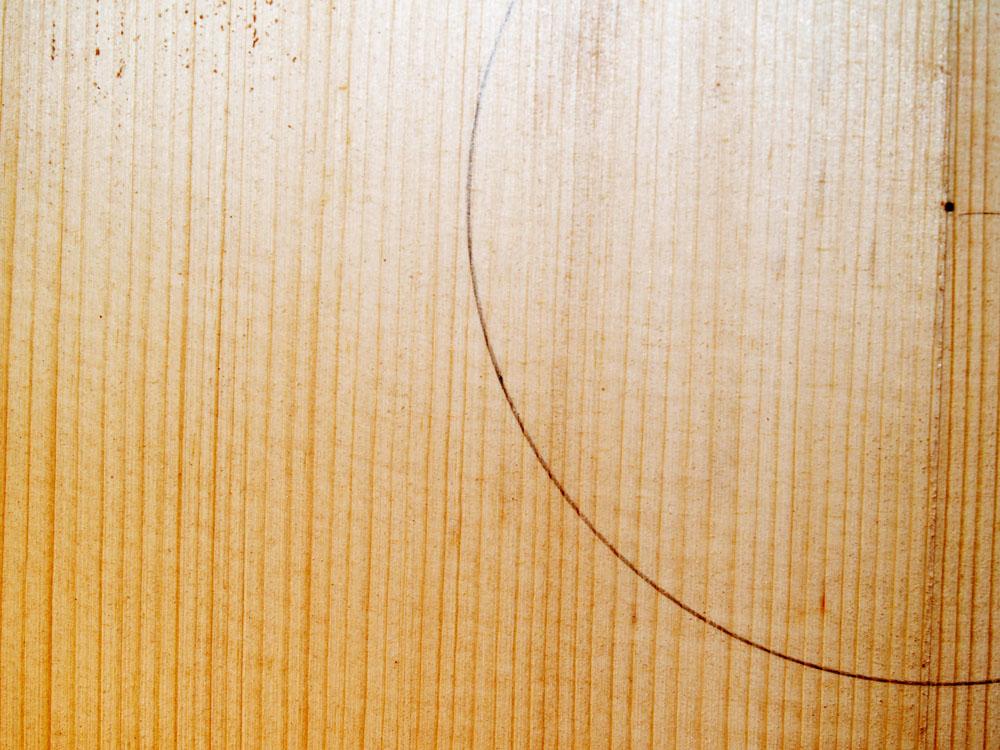
Here is a close up look at the grain structure of the Adirondack Spruce. The sound hole circle has a 2 inch radius.
 ( 16 ) 9-Jan-2012
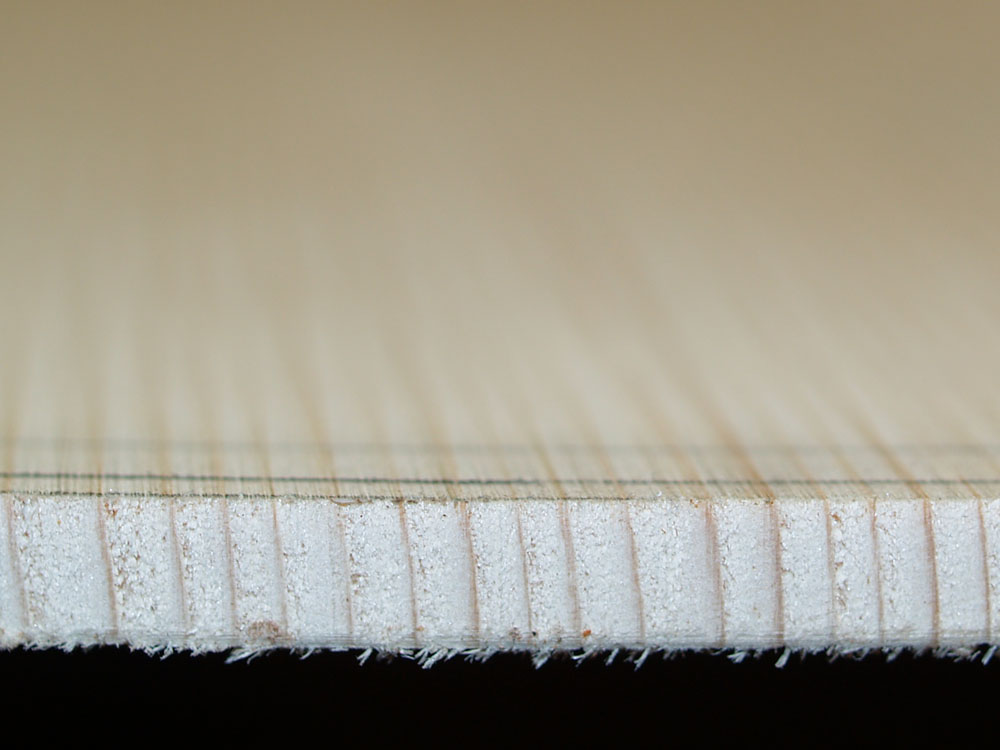
This is a close up look at the end grain of the top plate. The wood is nominally quartersawn, being just off the perpendicular by two degree or so.
 ( 17 ) 9-Jan-2012
I use my drum sander again to sand the back pieces to equal thickness.
 ( 18 ) 9-Jan-2012
And the side pieces get the same treatment.
 ( 19 ) 9-Jan-2012
I use the belt sander again to level the joining edges.
 ( 20 ) 9-Jan-2012
Here I have cut out a poster board mask to help me decide the orientation and placement of the back on the back blank.
 ( 21 ) 9-Jan-2012
The set of Cocobolo we purchased is just a little bit too narrow for the size of guitar we are building. But not to worry, we will add a set of wings that will be all but invisible.
 ( 22 ) 9-Jan-2012
Here I am using the excess area from the second board and matching up the grain pattern to make a good match. If you look closely you can just make out the joining line. The line joining line will disappear when we glue the two pieces together.
 ( 23 ) 9-Jan-2012
I cut the wing out of the excess section of the matching board.
 ( 24 ) 9-Jan-2012
And when the piece is put in place the grain patterns make a good match.
 ( 25 ) 9-Jan-2012
Now I am ready to glue the back plate together.
 ( 26 ) 9-Jan-2012
I use the jointing jig again to press the pieces together.
 ( 27 ) 9-Jan-2012
And after the center plates are joined I press the wings into place.
 ( 28 ) 9-Jan-2012
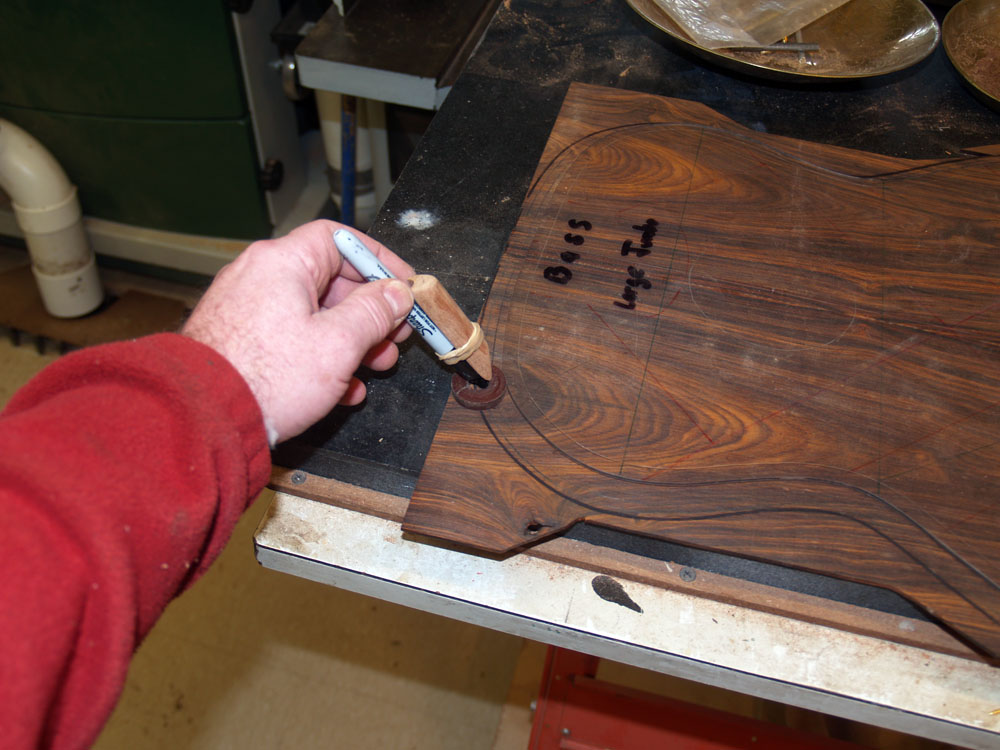
Here I am using my over sizing outlining tool to draw the back plate shape onto the back blank.
 ( 29 ) 9-Jan-2012
And then I use the band saw to cut out the back plate.
 ( 30 ) 9-Jan-2012
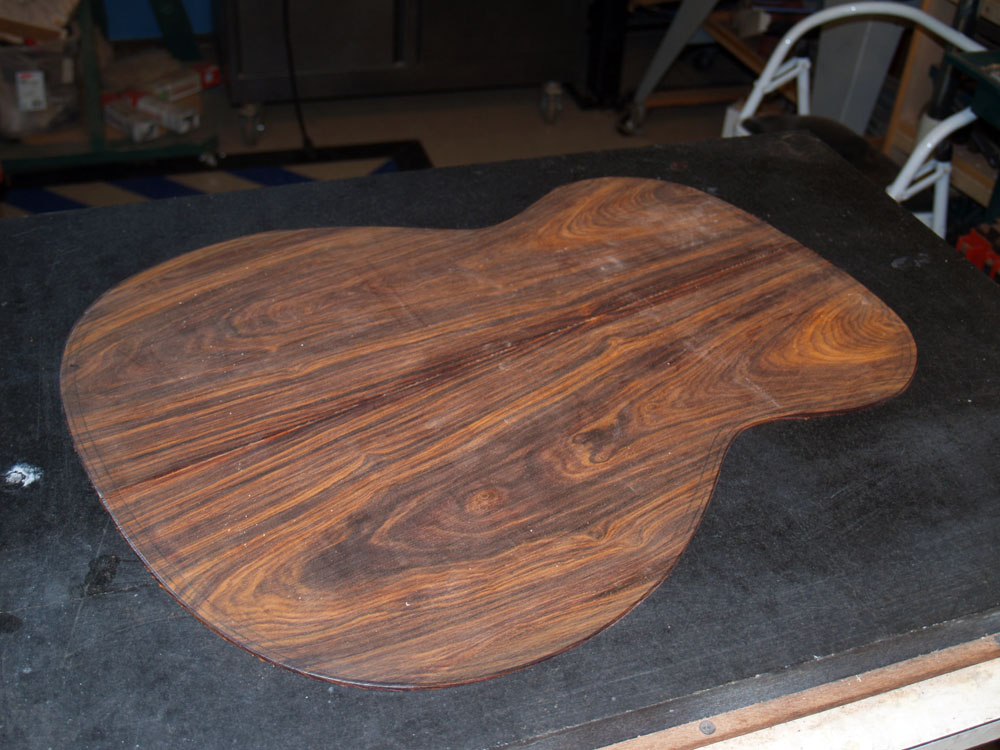
The back plate. This is a incredibly beautiful piece of wood. Cocobolo has some of the most interesting grain patterns of all the woods I use in making guitars. Being a true rosewood it has an aromatic and pleasant (at least to me) smell when it is cut.
 ( 31 ) 9-Jan-2012
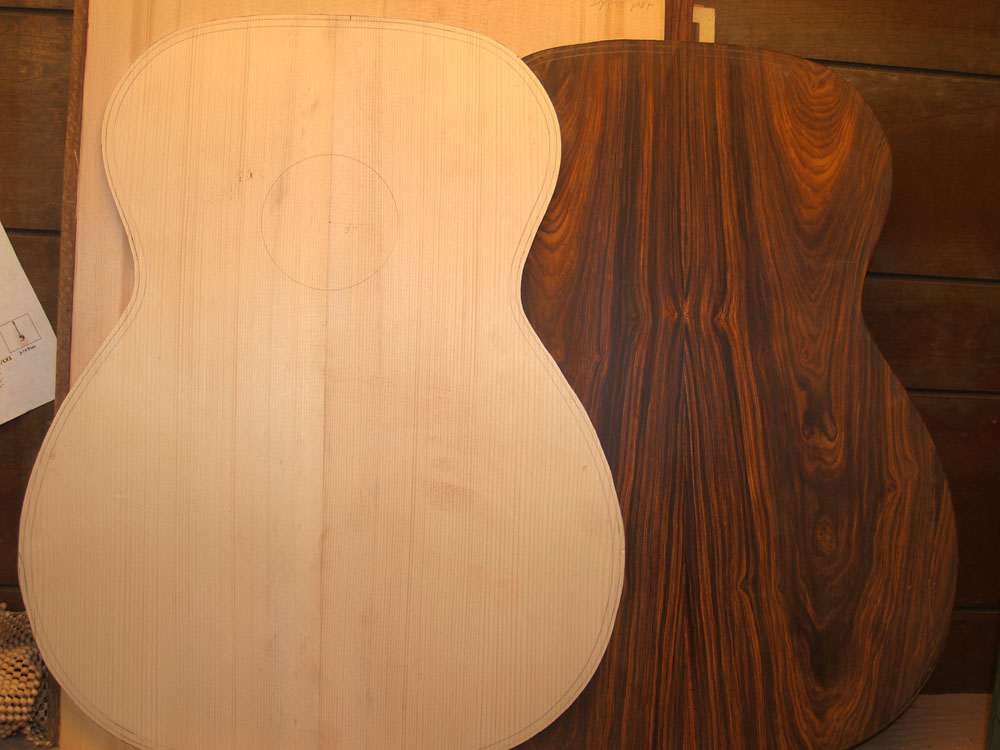
And the top plate and back plate together.